First of all, when you order the BitNinja license, you will receive an email, subject: “[BitNinja Account Activation] Quick setup + Results in 12 hours“. This email will contain a registration link, where you will be able to complete the account registration, create a password.
BitNinja account will be available on the following URL: https://admin.bitninja.io/main/
Installation
BitNinja installation is very quick and simple. The general installation command is following:
curl https://get.bitninja.io/install.sh | /bin/bash -s - --license_key=...
The license key or the full command can be found on your BitNinja product dashboard > Installation instructions menu, on Time4VPS ClientArea.
When you run the command, you will be prompted with the question if you want to continue the installation, you press ‘y‘ and continue. The installation completes within a few minutes.
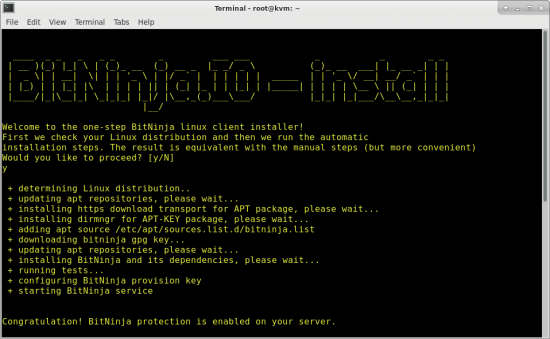
Once the installation is complete, you will be asked if you want to perform a Malware scan right away, you can do that if you want or skip it at that moment.
To start the BitNinja on the server execute the following command:
sudo /etc/init.d/bitninja start
If you get any errors, you may browse the BitNinja article here.
Final step
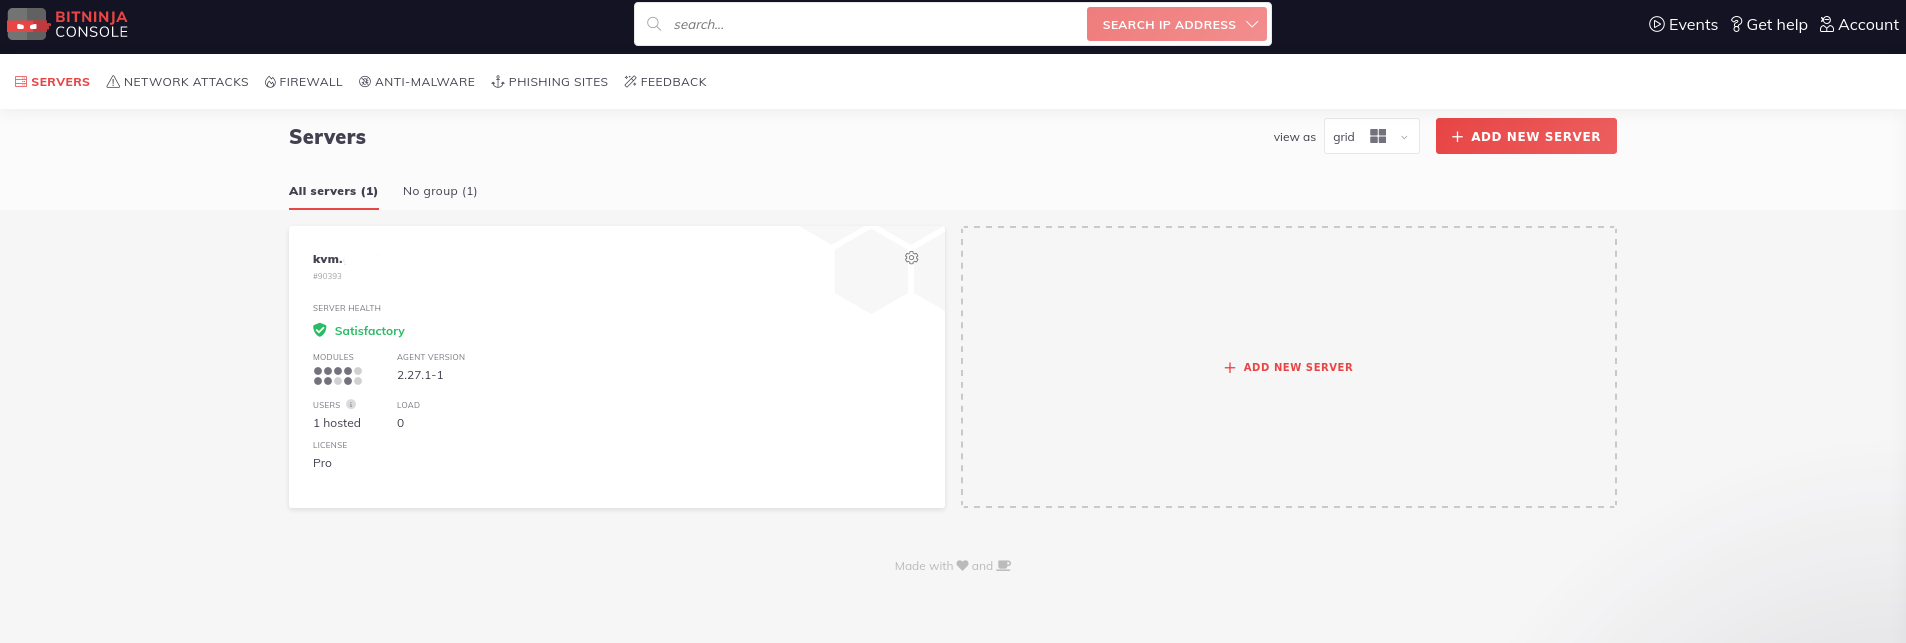
When the installation is complete, you should receive an additional email confirming that. Also, you can check the BitNinja account and see if your server was added, it should look like in the image below: