Information!
VPN seems to be broken in version 4.2 so please upgrade to 4.3 before configuring VPN.
Step 1
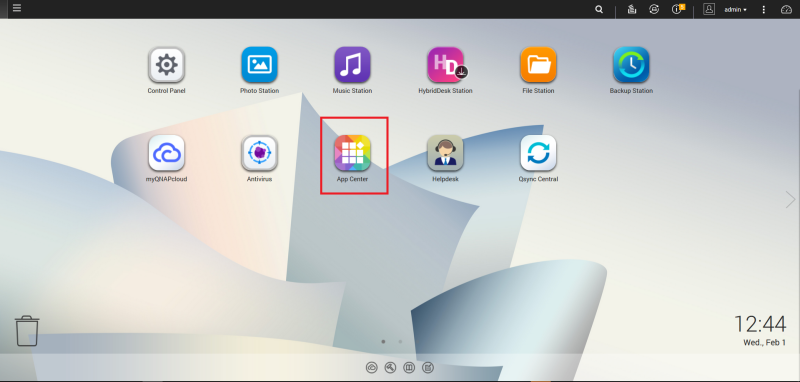
Login on the QNAP web control panel.
Click on “App Center“.
Step 2
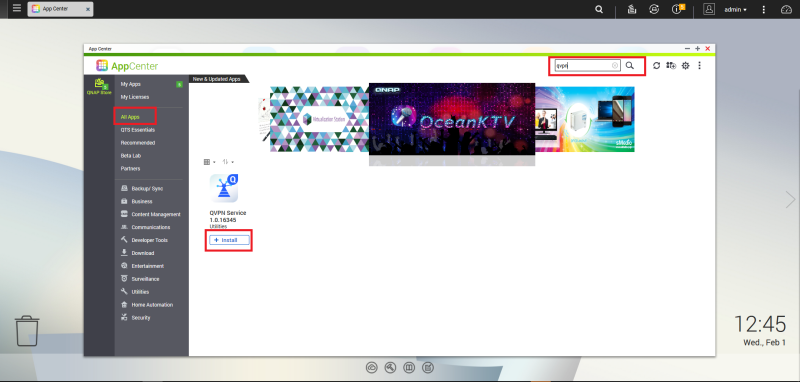
Click on “All Apps“.
Click on search field and enter “qvpn“.
Click on “Install” QVPN Service.
Step 3
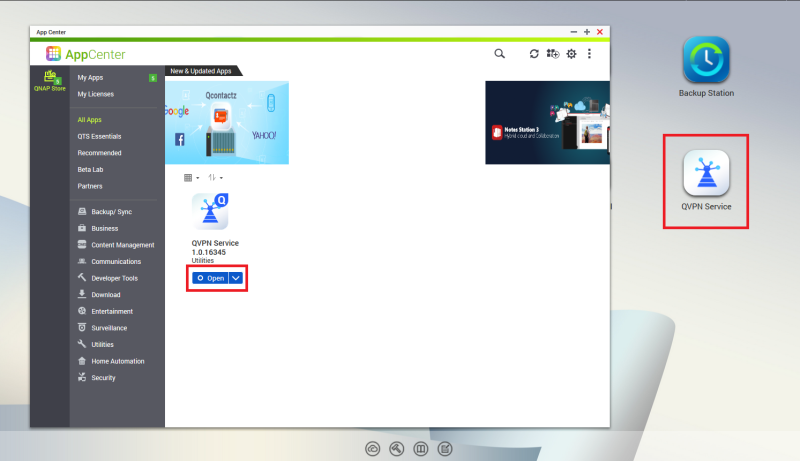
Click on “Open” or on the QVPN Service app on the desktop.
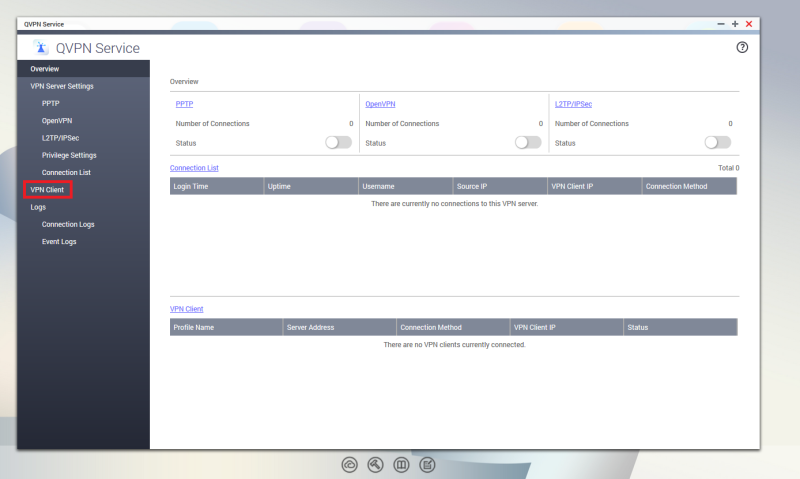
Step 4
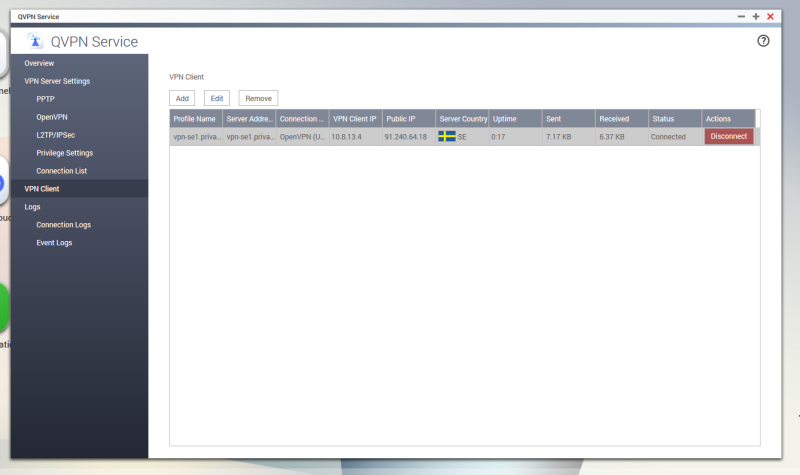
Click on “VPN Client“.
Step 5
Download and extract this zip file: https://privatevpn.com/client/OpenVPN-Gui-TUN.zip
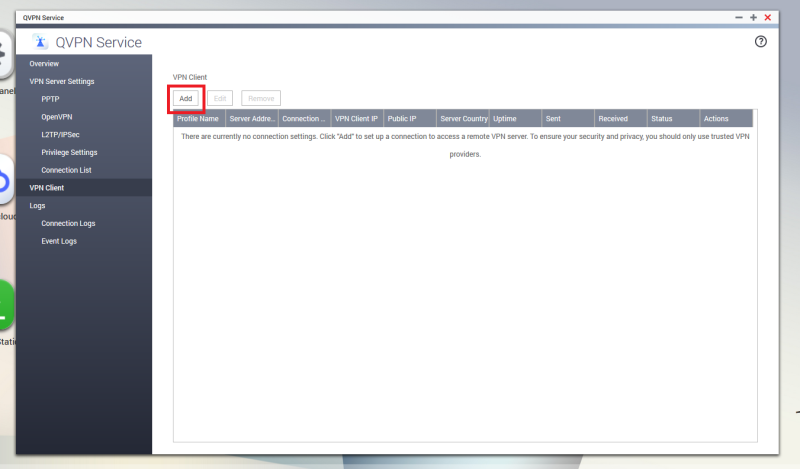
Step 6
Click on “Add” and then “OpenVPN“.
Step 7
Select your VPN server configuration file from the folder where you extracted the zip file.
Click on “Open“.

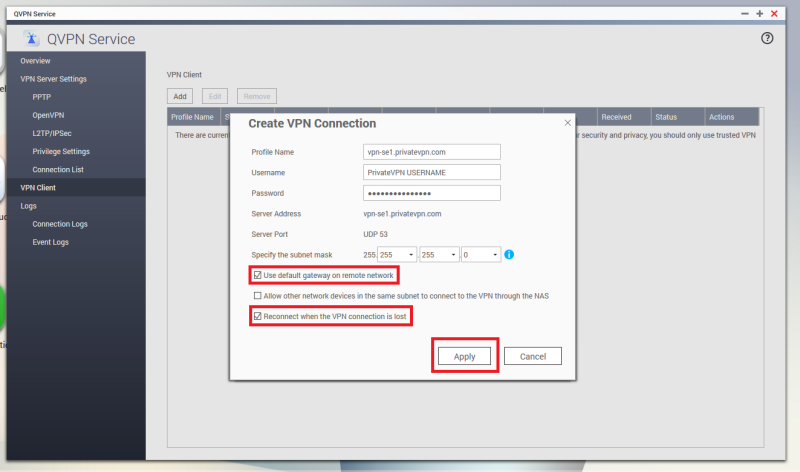
Step 8
On Username: Enter your PrivateVPN username
On Password: Enter your PrivateVPN password.
Tick both Use default gateway on remote network and Reconnect when the VPN connection is lost.
Click on “Apply“.
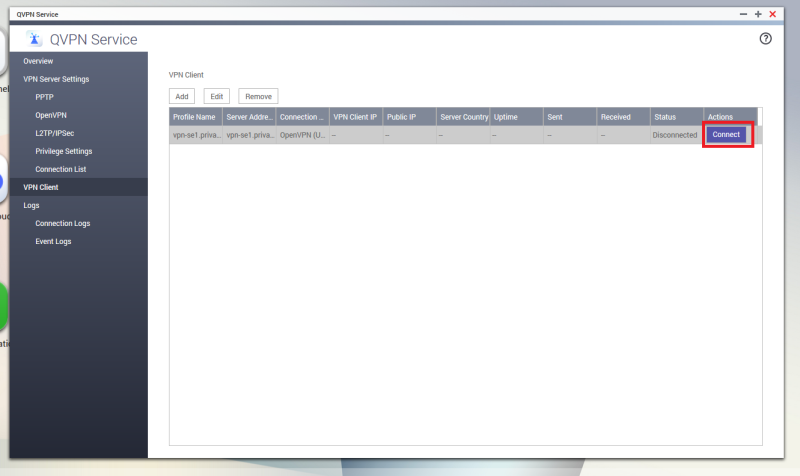
Step 9
Click on “Connect“.
Step 10
Enjoy your private internet surf!
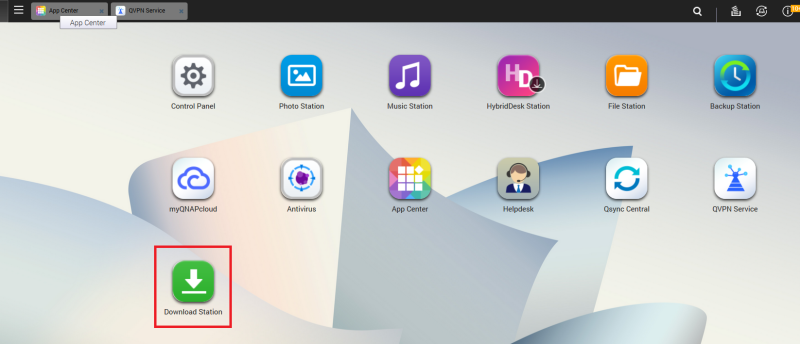
Open “Download Station” on the desktop.
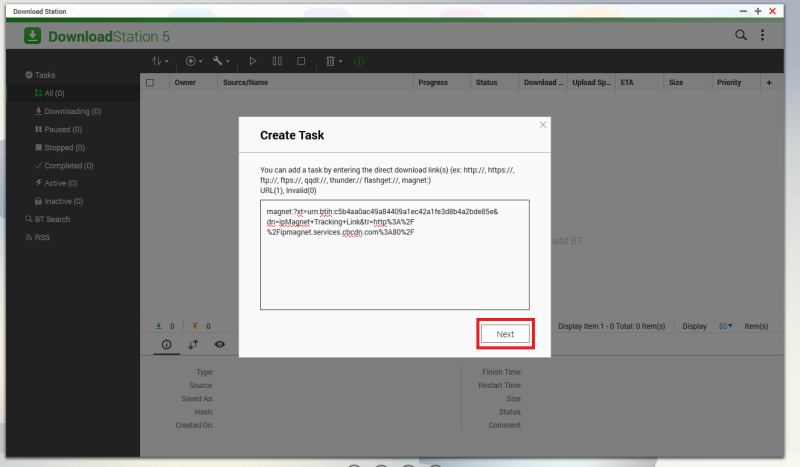
Click on the circle with “+” and then “Input URL“.
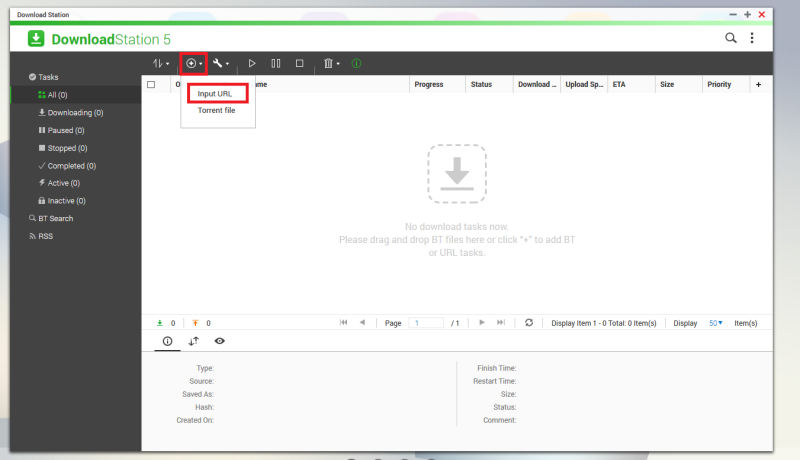
On the Create Task window, paste the Magnet link and click Next.
On next page, click on “Apply“.

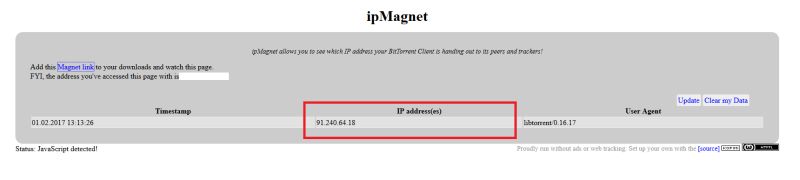
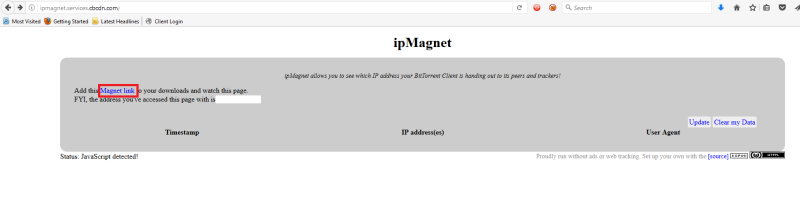
Now go back to the website you’ve copied the Magnet link from. It should show you the IP address of our service now!