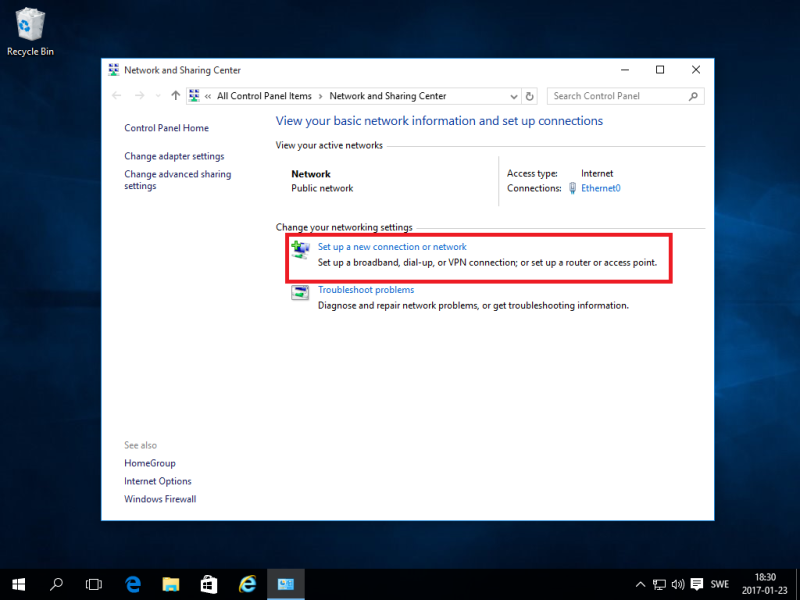
Step 1
Right click on your network icon, located in the tool bar tray, and click on Open Network and Sharing Center.

Step 2
Click on Set up a new connection or network.
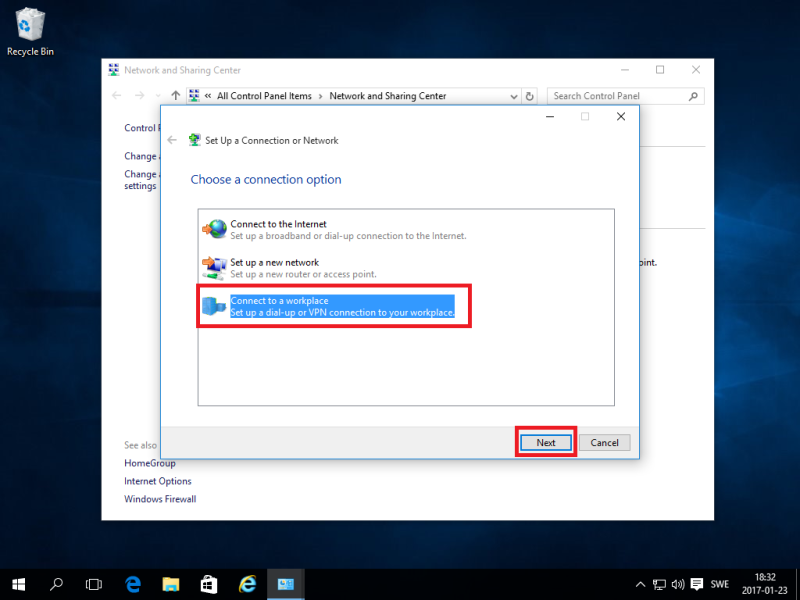
Step 3
Select Connect to a workplace and then click on Next.
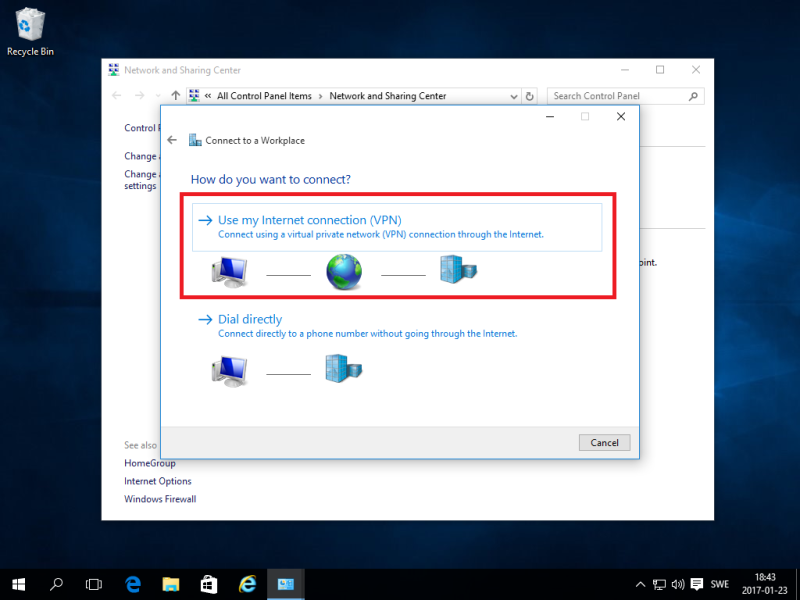
Step 4
Click on Use my Internet connection (VPN).
Step 5
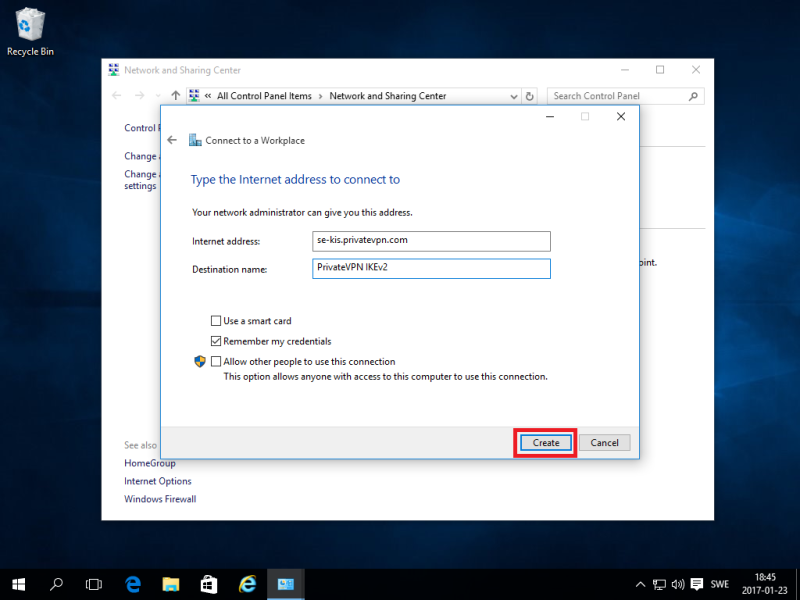
On Internet address, type a server from PrivateVPN. On Destination name, type PrivateVPN IKEv2. Click on Create.
You’ll find the server list here: Server list
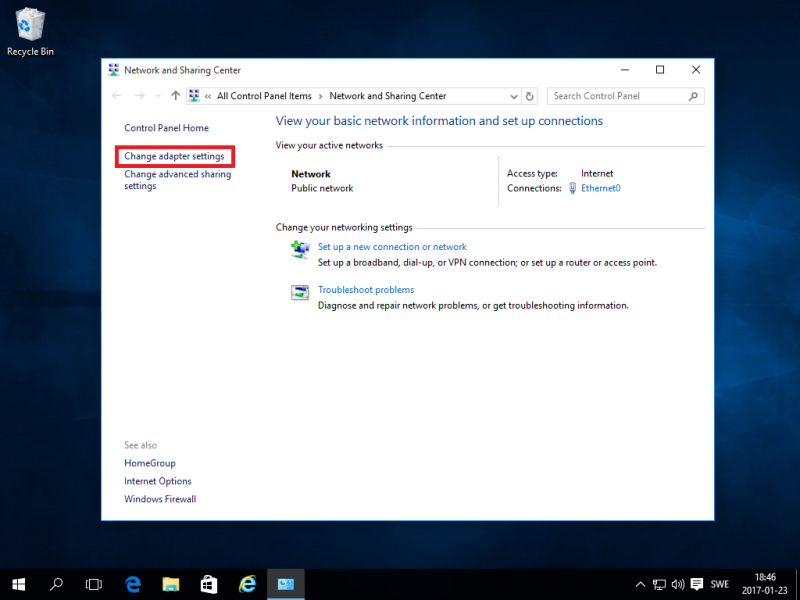
Step 6
Click on Change adapter settings.
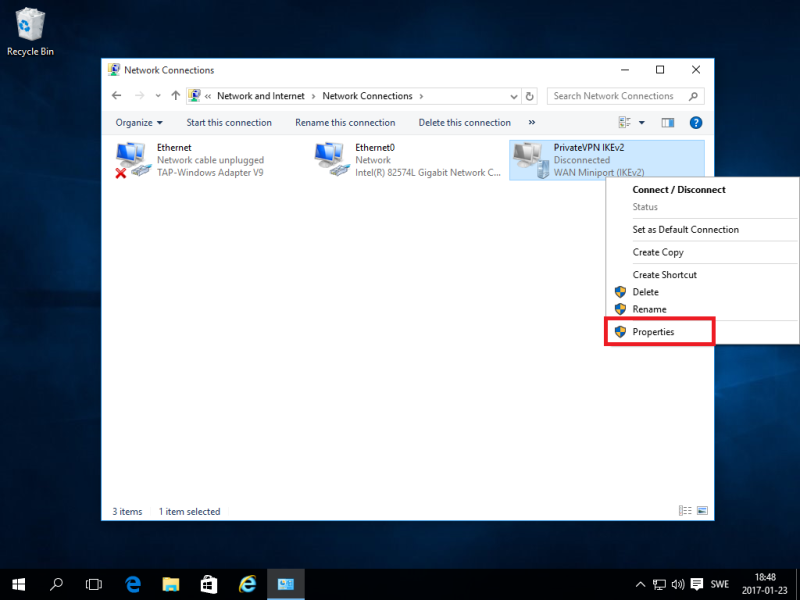
Step 7
Right click on “PrivateVPN IKEv2” and then click on Properties.
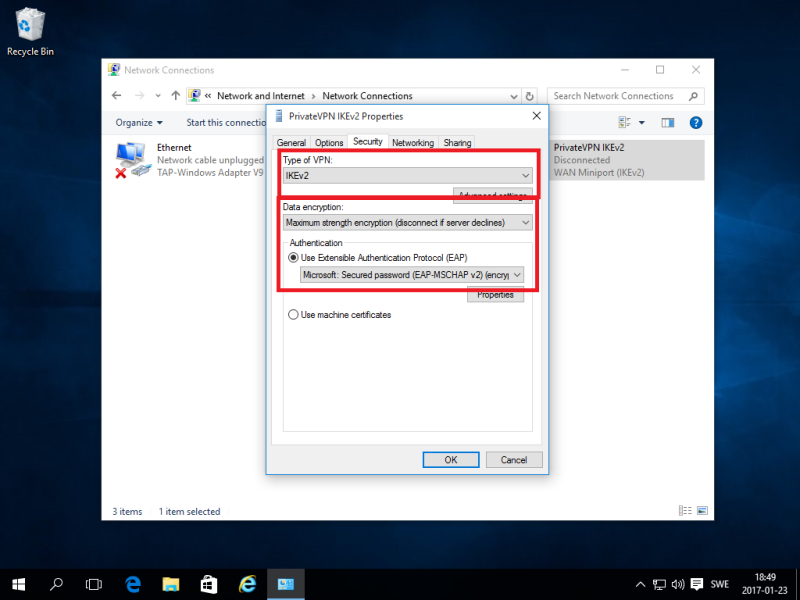
Step 8
Click on security tab. On Type of VPN, select “IKEv2”. On Data encryption, select Maximum strength encryption. On Authentication, select Secured password (EAP-MSCHAP v2).
Click on OK.
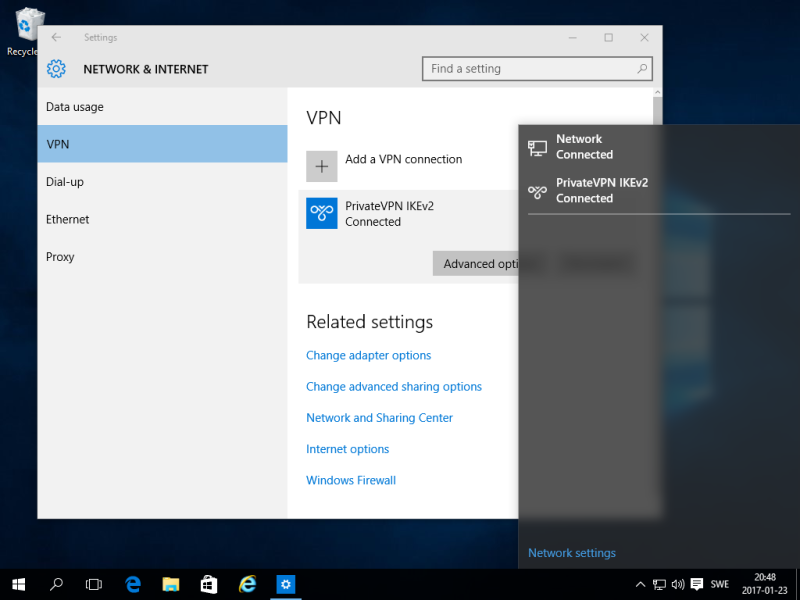
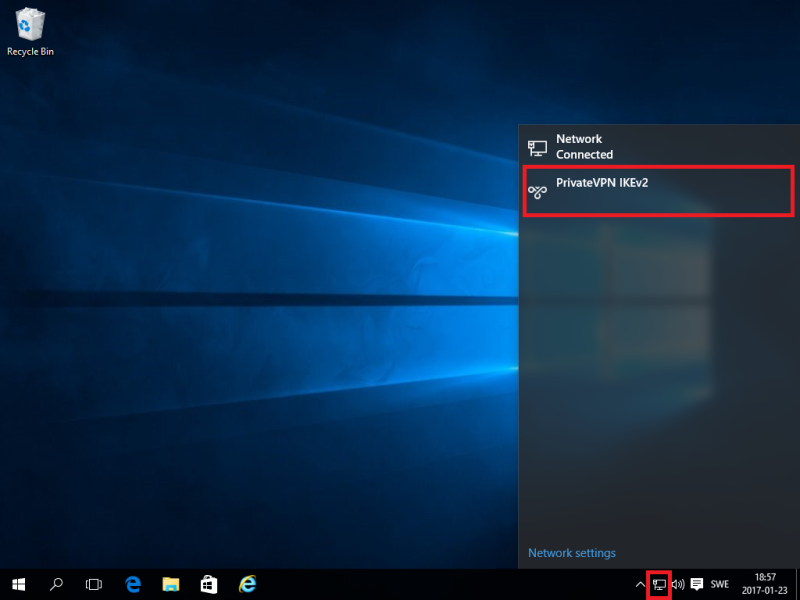
Step 9
Click on the network icon in the toolbar tray and then double click on PrivateVPN IKEv2.
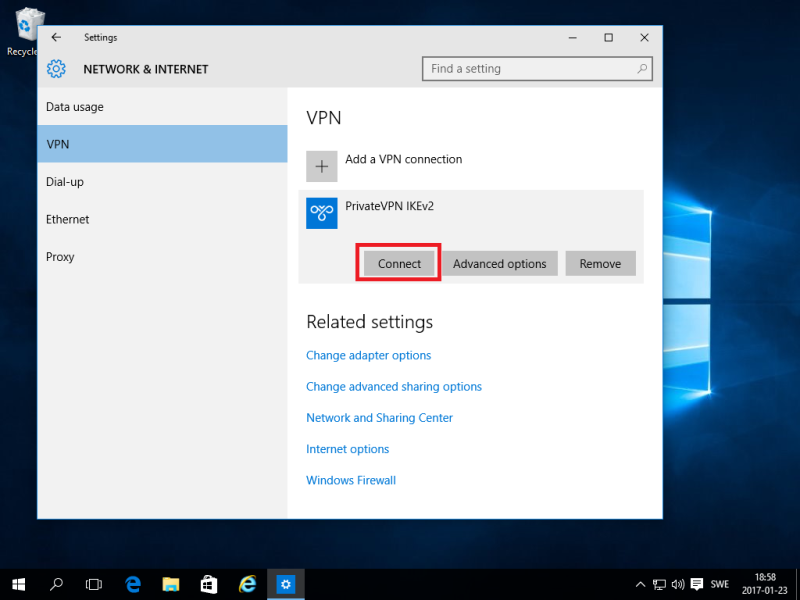
Step 10
Click on PrivateVPN IKEv2 and then click on Connect.
Step 11
Enter your username and password for PrivateVPN and then click on OK.
Step 12
Verify your VPN connection by clicking the network icon in the toolbar tray. If you see the VPN connection PrivateVPN IKEv2 with status Connected, you have successfully connected to PrivateVPN.