Before using Time4VPS WHMCS module, you should activate it and configure it.
1. Download the latest plugin version from GitHub.
2. Upload archive folder contents to your WHMCS installation root directory.
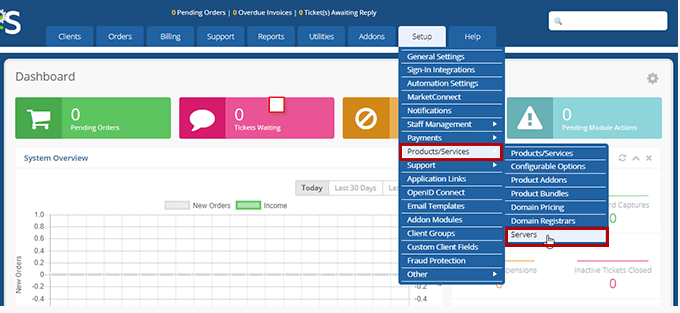
3. Log in as Admin to your WHMCS admin area and go to: Setup -> Products/Services -> Servers;
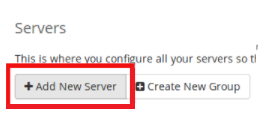
4. Click “Add new Server” button;

5. Select “Time4VPS Reseller Module” as a module and enter:
- Hostname:
billing.time4vps.com - Username:
your Time4VPS username - Password:
your Time4VPS password - Name:
Time4VPS
Other fields are not necessary.
6. Create DB tables by navigating to http://<your whmcs url>/modules/servers/time4vps/install.php as Admin.
Note: If you get an error, URL is not working or DB tables are not created, then something was done incorrectly. You will need to recheck everything or start the installation again.
If you want to Import / Update Time4VPS products navigate to http://<your whmcs url>/modules/servers/time4vps/update.php as Admin.