In this tutorial, you will see how you can change the nameservers for domains registered in the Time4VPS system.
Changing nameservers
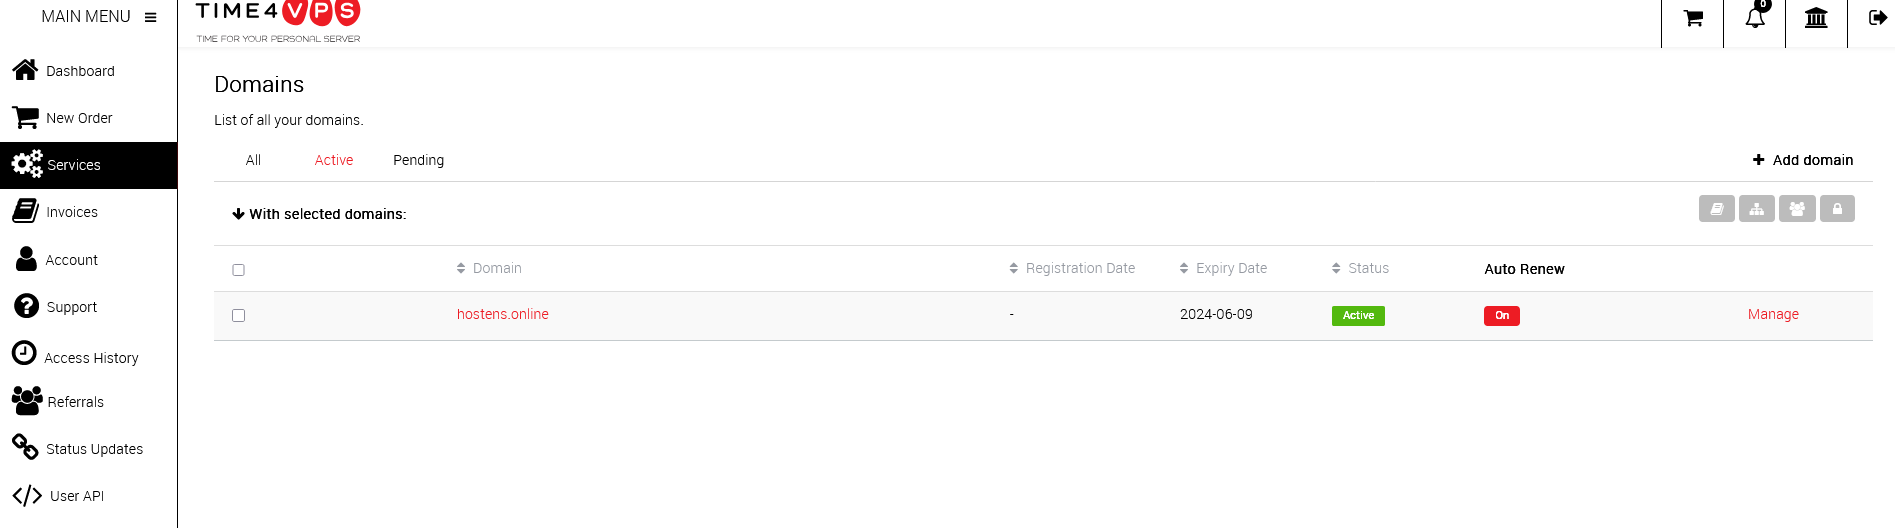
1) Find a domain among your Time4VPS services:
2) Click ‘Manage nameservers‘ under the table:

3) Pick ‘Our nameservers‘ if you want to use Time4VPS nameservers. If you will use third-party nameservers (for example, Cloudflare), pick ‘Custom‘ and provide at least 2 values:

4) Click ‘Save‘ to consolidate the changes.
Attention #1: At least two nameservers with unique IP addresses must be specified to service the domain.
Attention #2: The new nameservers fully propagate on the Internet in about 24-48 hours. Keep this in mind, as you won’t see the changes right away. You can verify domain nameservers and other DNS records using third-party tools, such as https://www.whatsmydns.net/
Attention #3: Changing nameservers and editing DNS records is performed at different locations in the client system. If your domain uses Time4VPS name servers, you can adjust the DNS records in the DNS manager.
Attention #4: Before changing the nameservers, make sure that the domain is unlocked (Registrar Lock). When the domain is locked, you won’t be able to either change the nameservers or transfer the domain to another service provider.
Other functions
‘Contact information’ section indicates which domain owner data is used in the central domain registry.

In the ‘Auth Info / EPP Key’ section, you can get the domain authorization code needed to transfer the domain to another service provider.

Attention #5: Depending on the suffixes of the domains (.com, .eu, .onlie, .lt etc.), the functions described previously may vary. If something is missing or something different, contact our support and we will be happy to help to resolve your issues.