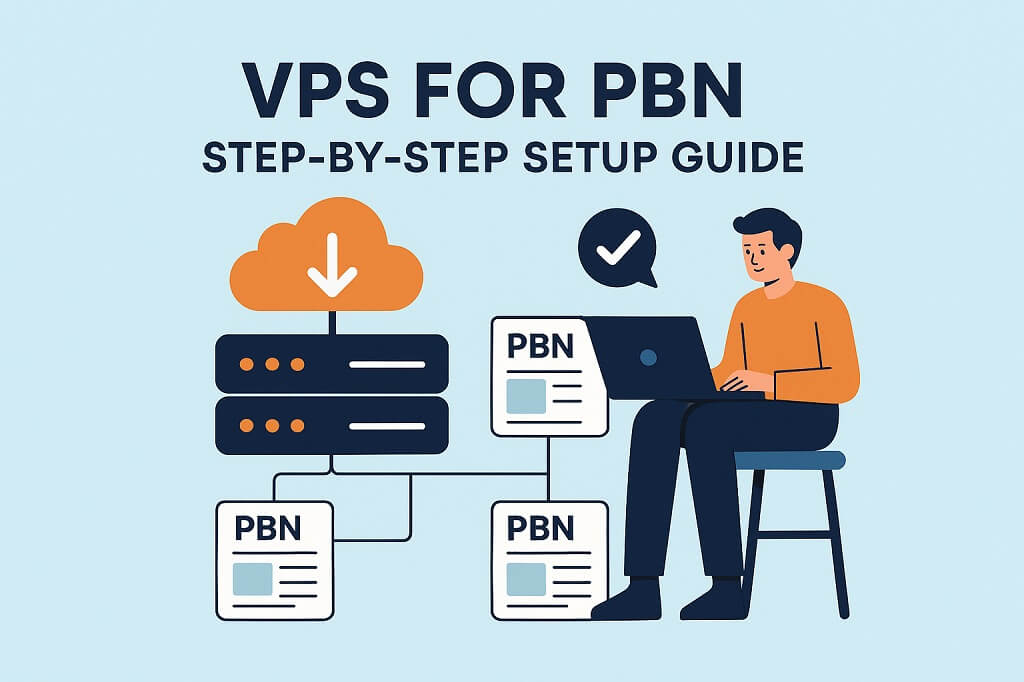
Building and managing a Private Blog Network (PBN) requires not only quality domains and content but also a reliable hosting strategy that ensures security, diversity, and performance. At Time4VPS, we understand the importance of stable infrastructure when it comes to SEO projects like PBNs. That’s why VPS hosting is often the preferred choice over shared hosting, providing both flexibility and control.
In this guide, we’ll walk you through how to set up a VPS for your PBN step by step, while highlighting how Time4VPS solutions make the process easier and more effective.

Why Use VPS for PBN Hosting?
When hosting a PBN, the main goal is to avoid detectable footprints while keeping your sites fast and accessible. VPS hosting offers key advantages over shared hosting:
- Isolation: Each VPS runs in its own virtual environment, ensuring better security and separation.
- Flexibility: You can configure server settings and install the software you need.
- Scalability: As your network grows, you can easily upgrade resources.
- IP Diversity: VPS plans often allow unique IP addresses, which is crucial for PBN footprint protection.
Time4VPS provides affordable and scalable VPS plans that are well-suited for hosting multiple PBN sites with ease.
Step 1: Choose the Right VPS Plan
Start by selecting a VPS plan that matches the size of your PBN. If you’re just beginning, a smaller plan is enough. As your network expands, you can upgrade seamlessly. At Time4VPS, we offer:
- Linux and Windows VPS options
- Plans that scale up to hundreds of websites
- Reliable data centers in Europe for speed and security
Step 2: Deploy Your VPS
Once you’ve chosen a plan, deployment is quick with our automated system. You can set up your VPS in just a few minutes through the Time4VPS client panel. You’ll receive root access, giving you complete control.
Step 3: Configure the Server Environment
Depending on your preference, you can install:
- Web server software (Apache, Nginx, or LiteSpeed)
- Control panels like cPanel, Plesk, or open-source alternatives for easier management
- Security tools such as firewalls and malware scanners
This step ensures that your VPS is optimized and secured before adding your PBN sites.
Step 4: Add Unique IPs and Nameservers
For PBN hosting, IP diversity is crucial. Time4VPS offers additional IPv4 and IPv6 addresses, which help you spread out your network and reduce risk. You can also configure custom nameservers to keep everything looking natural.
Step 5: Install and Manage Your Websites
Once the environment is ready, you can start installing your CMS (most PBNs use WordPress). Using a control panel or automation tools, you can deploy multiple sites quickly. Remember to:
- Keep themes and plugins updated
- Use unique content on each site
- Monitor performance and uptime regularly
With Time4VPS monitoring tools and resource scaling, managing dozens of sites becomes much easier.
Step 6: Maintain and Secure Your VPS
The final step is long-term management. A PBN is only as strong as its weakest link, so ensure you:
- Perform regular backups
- Update server software and CMS
- Use SSL certificates for all domains
- Monitor traffic and resource usage
At Time4VPS, we provide automated backup options and 24/7 support, so your PBN stays online and secure.
Final Thoughts
Using VPS hosting for your PBN is the best way to achieve both flexibility and security while keeping control of your SEO strategy. With Time4VPS, you gain access to affordable, scalable VPS solutions designed to support even the most complex PBN structures.
If you’re ready to set up your PBN with confidence, explore our VPS plans and get started today.
